
Assignment Compressor
Shrink a batch of scans, photos and documents down to the size your school or portal will accept — entirely in your browser. Images are compressed, PDFs are kept exactly as they are, and everything lands in one ZIP.
- No upload — processed on this device
- No account needed
- Free to use
Compression settings
Used for the ZIP and summary names.
Keep going
The natural next step
The details
How it works and what to expect
How it works
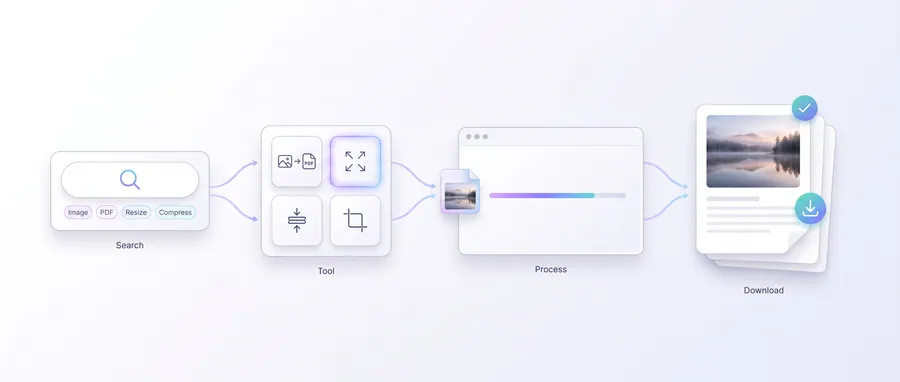
- Drop in your assignment files — photos, scans and finished PDFs together.
- Set the maximum image edge, output quality and format (JPEG or WebP).
- Click Build assignment pack. Images are compressed; PDFs are kept byte-for-byte.
- Download a ZIP with a plain-text summary as its first entry.
What happens to each file
- Images — any scan larger than the max edge is downscaled first, then re-encoded as JPEG or WebP at the chosen quality.
- PDFs — kept exactly as they are, with no re-encoding or text extraction.
- The ZIP's first entry is a summary.txt listing every file and its action.
- Duplicate names are de-duplicated so no entry ever overwrites another.
Quality guidance
- Max image edge (160–8192 px) — 2400 px fits most portrait scans. Lower it for aggressive size cuts.
- Quality (1–100) — 82 is a good default. 60–70 shrinks files more noticeably.
- WebP usually produces smaller files than JPEG at the same quality, but JPEG is the most widely accepted.
Privacy
Assignment Compressor runs entirely in your browser. Your files are not uploaded to any server and the ZIP is assembled on this device. For this tool there is no upload step at all.
Practical guidance
Using this tool well
When it is the right answer, what tends to go wrong, and what to check before you rely on the result.
Why use it
School and course portals set firm upload limits, and a folder of scans will not fit them untouched. This tool compresses the images while leaving PDFs exactly as they are, then hands everything back in one ZIP.
Typical situations
- Your scanned assignment is over the portal's size limit.
- Several photos and one document must be submitted together.
- You want a smaller upload without touching the content itself.
Common problems
Compressing stops at a password-protected PDF
Rebuilding a PDF at a smaller size means reading it first, which an encrypted file will not allow. Unlock the document in your reader, then compress the unlocked copy.
PDFs were not reduced
PDFs pass through unchanged by design so page content is never altered. If a PDF itself is the oversized item, extract and compress its images first.
Scans became hard to read
Lower the compression applied to images and try again. Text legibility matters more than hitting the lowest possible size.
The ZIP still exceeds the limit
Compression happens per file, not on the archive as a whole. Remove non-essential files or raise the image compression before re-packing.
Check before you submit
- Open a compressed scan and confirm the smallest text is readable.
- Check the ZIP size after processing.
- Confirm every intended file is present in the archive.
Read next
Guides and reference
The reading that goes with this tool — a walkthrough of the job, and the terms it uses.
- How to keep a file inside a required KB or MB rangeWhether the limit is 50 KB for a photo or 5 MB for a scanned PDF, the same discipline applies: know what controls size, change one thing at a time, verify, and leave headroom.
- How to choose the right compression levelCompression settings are a dial between file size and visible detail. Here is how to read the dial, and where to stop.
- How to reduce a PDF size while preserving readabilityMost large PDFs are large because of embedded images, not text. Here is where the bytes actually are, and how to remove them without blurring the content people need to read.
Terms used on this page
Defined in the site glossary, with the practical context that matters here.
Guided
This tool inside a workflow
A ready-made sequence that solves a whole job — this tool is one step in it.